viernes, 30 de marzo de 2012

Gamer Nails


 ESPAÑOL:


¡Hola chicas! Esta divertida manicura está pensada especialmente para las más jugonas, pero a cualquiera le va a quedar bien, ¿os gusta? ¡Pues adelante con el tutorial!

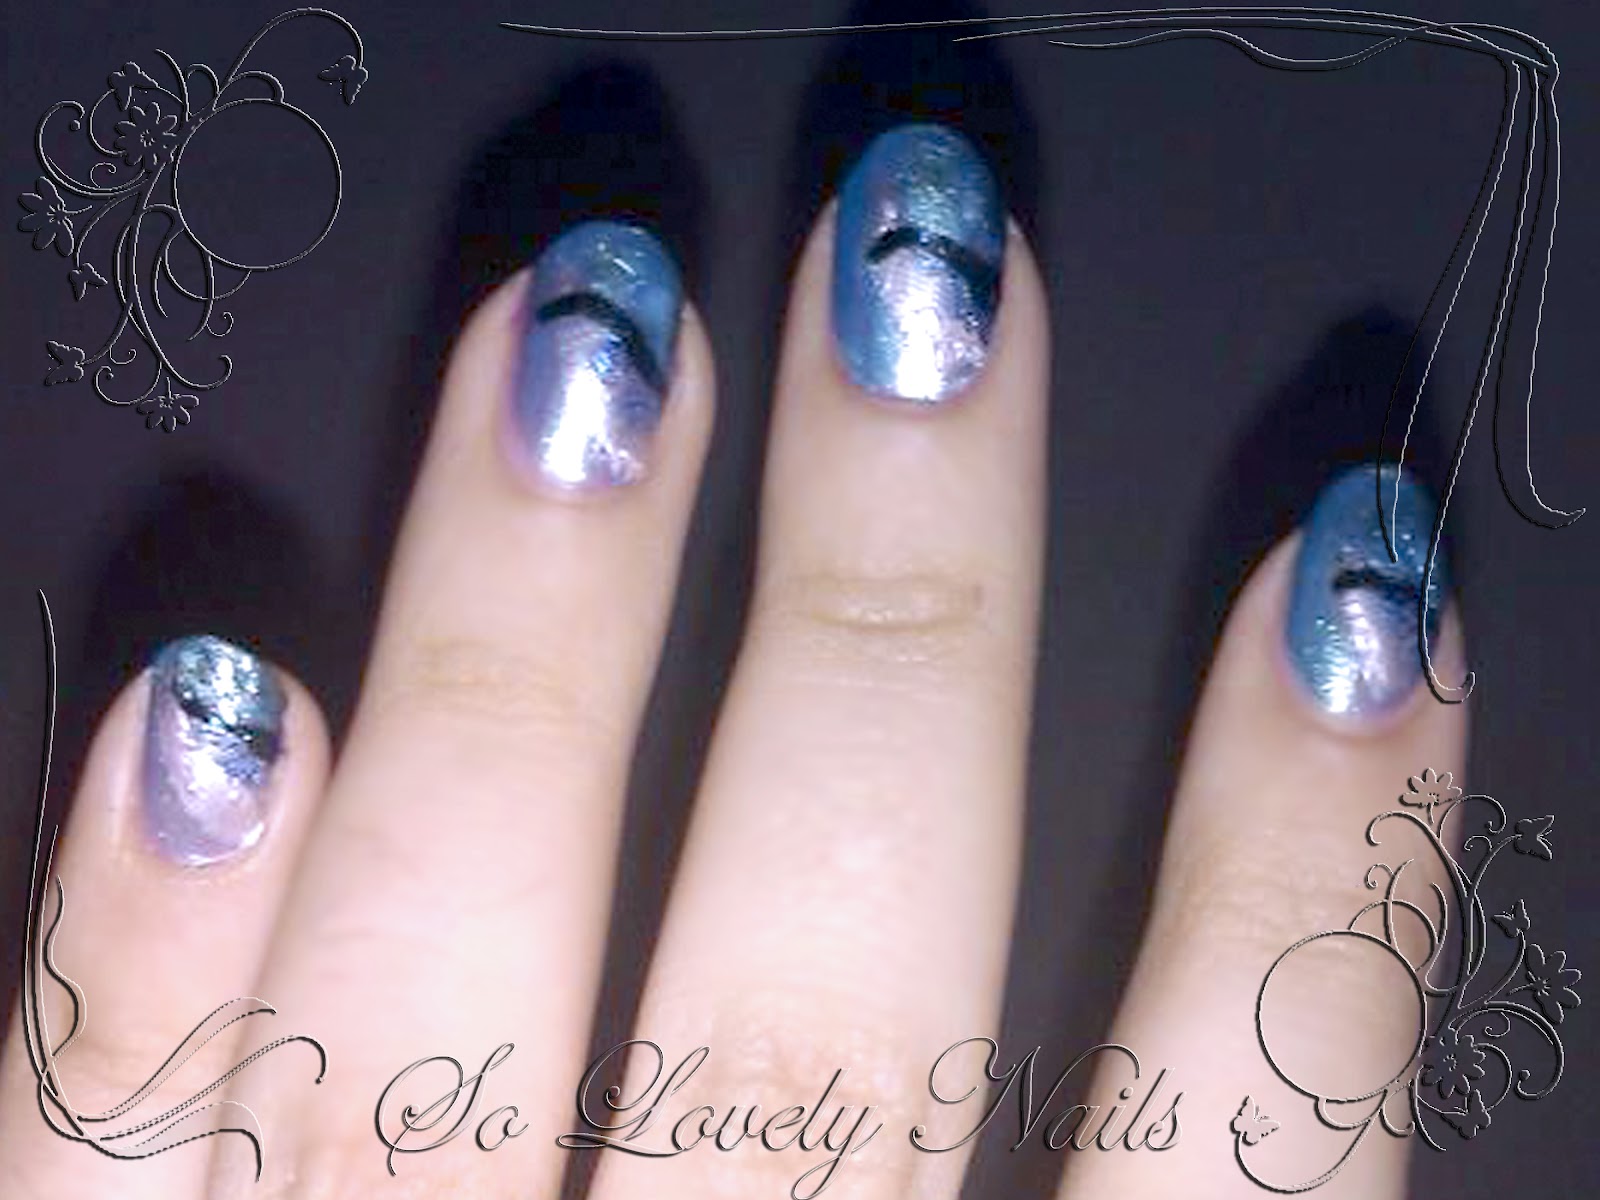
Lo primero como siempre es la capa de endurecedor. Después de eso, aplicamos una o dos capas de negro, dependiendo de lo opaco que sea nuestro esmalte.

Ahora lo mejor es hacer las letras, para quitarnos primero lo más difícil. Yo las he hecho con el pincel fino blanco, pero como tienen que ser muy pequeñitas, lo ideal sería hacerlo si se tiene con el boligrafo de esmalte (lo venden, por ejemplo, en Claire's, pero no estoy segura de si tienen blanco) o en su defecto puedes probar con un palillito, con lo que mejor te apañes.

Después pinta los símbolo, no son formas complicadas, así que con eso no tendrás mucho problema. ¿Que no tienes esmaltes de pincel fino de cada color? No te preocupes, tiene truco. Pinta con el pincel fino blanco los símbolos, y una vez seco pinta sobre eso con el color que necesites en cada uña. Al haber pintado antes con el blanco, lo que ocurre es que se queda en relieve, haciendo que sea mucho más fácil pintar sólo donde tu quieres.

Ya sólo te queda la capa de brillo y ¡¡a jugar!!


ENGLISH:


Hello girls! This enterteining manicure is thought specially for more jugonas, but to anyone it him is OK to staying, do you like it? So forward with the tutorial!

The first thing since always it is the cap of stiffener. After it, we apply one or two caps of black, depending on the opaque thing that is our enamel.

Now the better thing is to do the letters, to take from us first the most difficult thing. I have done them with the thin white paintbrush, but since they have to be very pequeñitas, the ideal thing would be to do it if it is had by the pen of enamel (they sell it, for example, in Claire's, but I am not sure of if they have white) or in his fault you can try with a palillito, with better what you contrive.

Later it paints the símbolo, they are not complicated forms, so with it you will not have very much problem. That you do not have enamels of thin paintbrush of every color? Do not worry, it has trick. It paints with the thin white paintbrush the symbols, and once I dry it does on it with the color that you need in every nail. On having had done before with the white, which happens is that it remains in relief, doing that is much easier to do only where your you want.

Already only you still have the cap of sheen and to playing!!

viernes, 23 de marzo de 2012

Mario's Mushroom Nails

ESPAÑOL:
Y aquí en un momento de inspiración he decidido haer esta manicura basada en las setas del juego Mario Bros. Me parece una manicura muy mona y graciosa ^^
Comenzaremos echando nuestra capa de brillo o base.
A continuación aplicamos un esmalte blanco como si fuera una manicura francesa.
Una vez seco con ayuda de un pincel fino aplicamos una raya de color debajo de la raya blanca. Ambos colores (rojo y verde) pertenecen a la gama de KIKO.
En el dedo corazón aplicaremos más color para dar forma a la seta.
Luego con ayuda de un pincel fino o lápiz o punta de una horquilla cogeremos un pco de esmalte negro (marca KIKO) para hacer los puntos de los ojos de las setas como aparece indicado en la fotografía ^. Haremos lo mismo con las motas blancas de las setas.
Espero que os guste y recordad que si poneis la banda sonora de Mario es aún más divertido.
Hasta la próxima!! ^^

ENGLISH
And here in a moment of inspiration I decided to make this manicure based on mushrooms Mario Bros. game I think a manicure very cute and funny ^ ^
We start throwing our coat of gloss or base.
Then apply a white glaze like a French manicure.
Once dry, using a fine brush apply a colored stripe below the white line. Both colors (red and green) are in the range of KIKO.
In the middle finger to apply more color the mushroom shape.
Then using a fine brush or pen or tip of a fork pco'll take a black enamel (brand KIKO) points to the eyes of the mushrooms as is indicated in the picture ^. Do the same with the white flecks of mushrooms.
I hope you enjoy and remember that if you put the soundtrack to Mario is even more fun.

See you next time! ^ ^

Half-Moon Nails

ESPAÑOL
Hey! ^^ Hoy tenemos esta manicura de media luna hecha por mi ^^ es muy simple de hacer y podemos contar con isnstrumentos de ayuda =)
Empezaremos con aplicar nuestra capa de brillo o base para evitar que la uña pueda deteriorarse.
Luego aplicamos un color blanco en toda la uña, en este caso he usado una marca del mercadona que también sirve para la manicura francesa.
Una vez seco, toca marcar el límite. En mi caso he tenido buen pulso y con el esmalte negro he pintado tal cual. Si os cuesta podeis pintar la raya con un pincel fino y luego continuar pintando normal o poner unas pegatinas con forma de medio círculo y pintar por encima.He utilizado un color negro de KIKO
Por ultimo aplicamos una capa de brillo y listo! ^^

Espero que os haya gustado :3

ENGLISH
Hey! ^ ^ Today we have this half-moon manicure made by me ^ ^ is very simple to do and we have instruments to help =)
We will start to apply our gloss or base layer to prevent the nail may deteriorate.
Then apply a white color in all over the nail, in this case I used a brand of mercadona which also serves for the French manicure.
Once dry, draw the line touches. In my case I had a steady hand and I painted black enamel as it is. If  it cost you to draw the line you can draw it with a fine brush and then continue regular painting or put some stickers in the shape of half circle and paint over it. I use  a color black of KIKO
Finally apply a coat of gloss and go! ^ ^

I hope you liked it: 3


domingo, 18 de marzo de 2012

Poison Bottle Nails


ESPAÑOL:

¡Buenas! La manicura de esta vez está inspirada en la típica botella de veneno que vemos en las películas y dibujos animados. Es genial si quieres una original y diferente a lo que se suele llevar ^^

Para la realización, lo primero es la típica capa de endurecedor. Después, vamos a pintar todas las uñas del mismo color, yo escogí uno de L'oreal que es negro con brillo verdoso y azul oscuro (un color que va bastante con la idea de veneno) pero si no tienes un esmalte parecido, podria valer una capa de negro y encima una de purpurina del color que prefieras: azul, morado, verde, naranja... mejor si es oscuro ;)

Una vez esté seco viene la parte complicada, los dibujos. Es recomendable empezar por el pulgar, ya que es el más difícil, pero no es necesario. Esto lo haremos con un pincel fino blanco. Para hacer el dibujo de la calavera, primero deberemos pintar un círculo, e irlo rellenando hasat dejar sólo los dos agujeros de los ojos, y despúes haremos tres pequeñas líneas que serán los dientes. A continuación pintamos las "X" y los huesos.

Cuando veas que ya ha secado (esto es muy importante, porque si no al dar la última capa podrías llevarte por delante el dibujo) damos finalmente la capa de brillo y hemos terminado ^^


ENGLISH:

¡Hello! The manicure of this time is inspired in the classic bottle of poison that qe could see in the movies y and animated series. It's great if you want a original and different that the ones we use to wear ^^

For the accomplishment, first is the classis cap of stiffener. Then, let's paint all the nails with the same colour, I choose a L'oreal black with green and dark blue light (a colour that is related with the idea of poison) but if you don't hace one similar, you could use a cap of black and other of purpurine of the colour you want: blue, purple, green, orange... better if it's dark ;)

Once it's dry it's time for the hard part, the draws. It's advisable to begin with de thumb, because this is the harder, but you can choose. We will do this with a white thin brush. For making the skull, first we must draw a circle, and refill it until there was only two holes for the eyes and then we'll make three little lines for the theeth. Later lets draw the "X" and the bones.

Wheen you see it is dry (this is very important, cause if it's not with the same cap you could blot the draws) put on the light cap and it's finished ^^

jueves, 15 de marzo de 2012

Violet Princess Nails


ESPAÑOL:

¡Hi! Esta vez tenemos una manicura propia de una princesa, pero eso sí, de una princesa violeta :P

Como siempre, si quieres una manicura duradera, tendrás que aplicar la capa de endurecedor. La siguiente capa que aplicaras es la de color perla (yo usé un esmalte de Maybelline NY: Forever Strong, en un color precioso a medio camino entre blanco, perla y plata con muchisimo brillo). Lo siguiente será una capa de violeta, pero no toda la uña, sino aproximadamente la mitad, en diagonal, siendo la parte mayor la exterior. Yo usé el de Yesensy, pero queda aún mejor si se escoje un tono un poco más clarito.

Con el pincel fino se marca la línea que separa el morado del perla, y después, se van haciendo por encima de esta línea arquitos, como si se tratara de una pieza de lencería.

Ahora sólo queda la capa superior de brillo (como variante, en esta manicura quedaría muy bien si esta capa llevase purpurina blanca). ¿Qué tal te ha quedado? :D


ENGLISH:

Hi! This time we have a manicure of a princess, but a violet princess :P As always, if you want a lasting manicure, you will have to apply the cap of stiffener. The following cap that you were applying is that of color pearl (I used Maybelline's polish NY: Forever Strong, in a precious color to half a way between white, pearl and silver with a lot of shine). The following thing will put is a cap of violet, but not the whole nail, but approximately the half, in diagonal, being the major part the exterior. I used that of Yesensy, but it remains even better if you choose a tone a bit less dark. With the thin paintbrush there you have to mar the line that it separates dwelt from the pearl, and later, do over this line arcs, as if it was a piece of lingerie. Now only left the top cap of sheen (as variant, in this manicure it would look very well if this cap was white purpurin). How did it look in your nails? :D

So Blue Nails

So Blue Nails
 ESPAÑOL:

Os presento una manicura que hice cuando usé por primera vez este esmalte (el azul, de la tienda Claire's, que me regaló mi chico) y que queda bastante elegante. Tanto en esta como en la siguiente manicura, las fotos están sacadas con mi móvil, así que perdón por la calidad U_U.
Y sin entretenerme más, la realización:
Primero de todo, como siempre, la típica capa de endurecedor.
Cuando esté seca vamos con el azul, si utilizas el mismo probablemente necesites dos capas porque es bastante transparente.
Ahora viene la única parte de esta manicura que tiene un poquito de complicación: las líneas. Con un pincel fino blanco, vamos a hacer una línea curva, empezando por la parte superior interior de la uña (vamos, la parte de cada uñá más alejada del meñique) y bajando por la uña sin llegar a la punta. Con el pincel fino blanco haremos una línea negra empezando más abajo y con la curva hacia el otro lado de modo que pise a la primera.
Despúes, aunque no se aprecia del todo bien en la foto, lleva una capa de esmalte de purpurina azul oscuro desde la línea blanca hasta el final de la uña, dejando sin la parte superior exterior.
Si se desea se puede aplicar ahora la capa de brillo final, y si no, está terminada ^^.

ENGLISH:

I you present a manicure that I did when I used for the first time this enamel (the blue, of the shop Claire's, which my boy gave me) and which remains elegant enough. So much in this one as in the following manicure, the photos are extracted by my mobile, so pardon for the quality U_U. And without amusing myself more, the accomplishment: First of everything, like always, the typical cap of stiffener. When it is dry we go with the blue, if you use the same one probably need two caps because it is transparent enough. Now there comes the only part of this manicure that has a bit of complication: the lines. With a thin white paintbrush, we are going to do a curved line, beginning on the top interior part of the nail (we go, the part of every uñá more removed from the little finger) and going down for the nail without coming to the top. With the thin white paintbrush we will do a black line beginning down below and with the curve towards another side so that he treads on the first one. Despúes, though it is not estimated completely well in the photo, takes a cap of enamel of dark blue purpurin from the white line until the end of the nail, stopping without the top exterior part. If it is wished there can be applied now the cap of final sheen, and if not, it is finished ^^.

miércoles, 14 de marzo de 2012

Uñas Sandía!!

Uñas Sandía
ESPAÑOL:

¡Hola otra vez! Esta vez tenemos una manicura hecha por Sil, de estilo sandía; es fresca y alegre, así que es perfecta para estos días que de pronto hace un calor veraniego. Vamos con la realización:
Primero, como siempre, la capa de endurecedor que hará que nuestras manicuras sean mucho más duraderas. Después de eso aplicamos una o dos capas de rojo,según necesitemos (en este caso es de Kiko) en una tonalidad no muy oscura, para imitar el color de una sandía apetecible, en todas las uñas, y a continuación pintamos la punta de cada una de verde, como si fuera una manicura francesa.
Ahora pasaremos a pintar las pepitas, dando suaves toques con un pincel negro, preferiblemente fino sobre la parte roja.
Por último dejamos secar y ponemos una capa de brillo (especialmente importante en esta manicura ya que queremos que sea lo más luminosa posible) y listo. 
Tienen buena pinta ¡pero no te las comas! XD


INGLÉS:

¡Hi again! This time we have a manicure made by Sil, in style of a watermelon. This is fresh and sunshine, so is perfect for these days that it's so hot. Let begin with the making of:
First, as always, let's put the stiffener cap, thaht will make our manicures so much lasting. 
After thath we apply one or two caps of red, (in this case, our polish is from Kiko) in a tone not much dark, so it looks like a fresh watermelon, in all the nails, and then we paint the top of the nail green as if we where making a french manicure.
Now we will paints the dots, with soft touch of black, better if we use a thin paintbrush on the red cap.
Al last we let it dry and apply a cap of transparent sheen (specialy important in this manicure cause we want it to be as lightnigh we can) and done.
They look so delicious but, don't eat it!!!! XD

martes, 13 de marzo de 2012

Pikachu Nails

Pikachu Nails
ESPAÑOL:

Bueno, pues aquí tenemos otra manicura de Pokemon, esta vez es Pikachu nuestro modelo ^^. Esta manicura está hecha por Sil.
Para realizarla, primero aplicamos una capa de endurecedor, y después, una de amarillo en todas las uñas, en este caso lo hemos usado de la marca Kiko, que es muy cubriente y sólo nos hizo falta una capa, pero si se desea se puede aplicar otra una vez este seco para conseguir un color más uniforme. 
Después de eso, pasamos a dibujar las mejillas rojas, si no tienes instrumentos de dotting (para hacer los puntos) como nos pasó a nosotras, puedes dejar una gotita del esmalte en una hoja de papel, mojar una horquilla y pintar con ella en el meñique y el pulgar.
La misma técnica se puede usar para pintar la boca, la nariz (aunque también es recomendable un pincel fino) y los ojos, pero en éstos, se pinta primero un punto negro y luego, cuando esté seco, uno más pequeño blanco. Estos dos últimos esmaltes son de Carlo di Roma.
Por último se aplica una capa de brillo transparente, que para este caso también fue de Carlo di Roma, y listo, ¡ya tienes tu simpática manicura de Pikachu! ¿Fácil, verdad?


INGLÉS:

Well, so here we have another Pokemon's manicure, this time is Pikachu our model ^^. This manicure is done by Sil. To realize it, first we apply a cap of stiffener, and later, one of yellow in all the nails, in this case we have used it of the brand Kiko, which has a good cover and we only needed a cap, but if it is wished other one can apply to him once dry this one to obtain a more uniform color. After it, we happen to draw the red cheeks, if you do not have instruments of dotting (to do the points) since it happened to us, you can leave a droplet of the enamel in a leaf of paper, wet a pitchfork and do with her in the little finger and the thumb. The same technic can be used to paint the mouth, the nose (though also a paintbrush is advisable a thin paintbrush) and the eyes, but in these, a black point makes up first and then, when it is dry, one smaller white. These last two enamels belong to Carlo di Roma. Finally there is applied a cap of transparent sheen, which for this case also belonged to Carlo di Roma, and you already have your Pikachu's nice manicure! Easy, right?

lunes, 12 de marzo de 2012

Zebra and Leopard Nails!!

Zebra & Leopard Nails
ESPAÑOL:

Esta es mi mejor manicura hasta el momento, me la hizo mi compañera Elsa. Estaba nerviosa porque no quería que saliera mal ^^
No recuerdo de donde era el esmalte blanco ni el negro, pero el color azul pertenece a la gama de Claires.
Aquí están los pasos:
En primer lugar nuetsra capa de base siempre recomendada para cuidar las uñas (también ayuda al quitarnos el esmalte con más facilidad)
Se aplica en cada uña un color diferente intercalando como se muestra en la imagen.
Una vez seco empezamos a decorar las uñas:
Cebra:
Utilizaremos un pincel fino y con el esmalte negro iremos haciendo líneas. Nos podemos basar para hacerlo con una imagen de un estampado de cebra.
Leopardo:
Aplicamos pequeños toquecitos del esmalte de color azul. En el caso del dedo índice solo aplicamos por la mitad y en diagonal.
Con el mismo pincel fino y también basándonos en una imagen de estampado vamos dibujando alreredor de las motas de color las líneas. Hay que tener muy buen pulso ^^
En la uña del dedo índice aplicamos una gota de esmalte transparente y con ayuda de pinzas añadimos el brillante.
Una vez finalizado todo aplicamos una capa de brillo y listo
Besos!!

ENGLISH:
This is my best manicure until I made ​​my friend Elsa. She was nervous because She didn't want went wrong ^ ^
I do not remember where he was white or black enamel, but the color blue belongs to the range of Claires.
Here are the steps:
First base layer nuetsra always recommended to take care of nails (also helps to take away the enamel more easily)
Is applied on each nail a different color interspersed as shown in the image.
Once dry start to decorate your nails:
zebra:
Use a fine brush and black enamel lines go by. We can build to do with an image of a zebra.
leopard:
We apply small dabs of blue enamel. In the case of the index finger applied only in half and diagonally.
With the same fine brush and also based on a stamped image we draw alreredor specks of color lines. It should be very good pulse ^ ^
In the index finger apply a drop of clear nail polish and tweezers add the diamond.
Once all apply a coat of gloss and ¡ready!

Kisses!

Vaporeon Nails.

Vaporeon Nails

ESPAÑOL:
Aunque cueste creerlo, esta manicura está basada en el pokemon Vaporeon jajjajaja.
Nos costó a mi compañera Elsa y a mi hacerla ya que íbamos por intuidión.
Todos los colores pertenecen a la marca KIKO.
Bueno, aquí están los pasos a seguir ^^:
En primer lugar aplicamos una base transparente en la uña para que no sea agredida por el esmalte. Yo recomiendo siempre una con efecto endurecedor o vitaminada para asi poder ayudar a la uña a que esté sana.
En segundo lugar utilicé un esmalte de color azul celeste como color de fondo.
Una vez seco, fui aplicando el color azul alrededor de la uña tal y como podeis ver en el dibujo.
En cuanto al ojo y el punto de la nariz, aplicamos en color negro con ayuda de la punta de una horquilla. Se introduce la horquilla en el esmalte y se da una puntada donde se quiera pintar el ojo y poco a poco se va dando forma.Se hace también lo mismo con el esmalte blanco.
Al igual que con el ojo, para el amarillo de las orejas se utilizó también la punta de una horquilla y de un palillo.
Una vez seco todo y para finalizar, se aplica una capa de brillo.
Estas uñas son muy divertidas ya que al juntarlo muestran el rostro del pokemon ^^

Un Saludo!!

ENGLISH:
Believe it or not, this manicure is based on the pokemon Vaporeon jajjajaja.
It took my partner Elsa and my  make it as we were by intuition.
All the colors belonging to the mark KIKO.
Well, here are the steps ^ ^:
First apply a clear base of the nail to avoid being attacked by enamel. I always recommend a vitamin-effective for curing or so to help the nail to be healthy.
Second I used a light blue enamel background color.
Once dry, I applied the blue around the nail as you can see in the picture.
As to the eye and nose point, apply black color using the tip of a fork. Fork is inserted into the enamel and there is a stitch where you want to paint the eye and slowly giving form.It will also do the same with white enamel.
As with the eye, to the yellow of the ears was also used the tip of a fork and a toothpick.
Once dry everything and finally, apply a coat of gloss.
These nails are fun to collect it because it shows the face of pokemon ^ ^

See you! =)


French Manicure.


French Manicure


ESPAÑOL:
En este caso, fui a que me hicieran una manicura en un lugar especializado en el barrio de Legazpi (Madrid).
Se trata simplemente de una manicura francesa con una pegatina que adorna el dedo pulgar.
Esta anicura comienza pintandose a toquecitos o, si usted es dueño de un pincel fino, la franja blanca.

Se pueden usar pegatinas que actúan como guías o un buen apoyo y una mano con buen pulso.
Después se aplicauna capa de color rosa. Una vez seco, se añaden a todas las uñas una capa de brillo, menos el pulgar, ya que es necesario poner la peganita.Esta actúa como un tatuaje falso: Se moja en agua y con ayuda de unas pinzas se coloca la etiqueta en el dedo. Se espera a que se adhiera y finalmente aplicais la capa de brillo.
Este es una de mi manicuras favorita porque es simple y siempre se ve bien en cualquier mano. Las etiquetas suelen dar un toque agradable.
Espero que os haya gustado!

¡Nos vemos! =)


ENGLISH:
In this case, I went to did me a manicure in a place that is specializes of this in the district of Legazpi (Madrid).
It is simply a French manicure with a sticker that adorning the thumb.
This nail is painted with pat or a line if you own a fine brush, the white stripe. You can help you stickers that act as guides or good support and a steady hand.
After you add a layer of pink. Once dry, are added to all the nails a layer of gloss, less than the thumb, since it is necessary to put the peganita. As I see the sticker acts as a fake tattoo: Take the sticker and is soaked in water and forceps put the sticker on the finger. Expect to accede and apply the gloss layer.
This is one of my favorite manicure because it is simple and always looks good in either hand. The stickers usually give a nice touch.
I hope you liked it!

See you! =)

domingo, 11 de marzo de 2012

French Manicure for Halloween

Halloween French Manicure

ESPAÑOL:
Bueno, pues esta es mi primera manicura, una que me hice por halloween. Es muy simple ya que es como una manicura francesa pero cambiando los colores.
Para hacer esta manicura utilicé dos esmaltes de uñas, ambos de la tienda KIKO. Uno rojo y otro negro.
Apliqué primero el rojo y con mucho cuidado intenté hacer el contorno del negro.Hay que tener cuidado ya que si nos pasamos nos puede quedar media uña negra y roja.
Esta manicura es de las más rápidas que hice, ya que mi fiesta de halloween empezaba en media hora y no estaba ni vestida ni maquillada >//< fue muy estresante.
Espero que os haya gustado, ya subiré más entradas.
Un Beso! ^^
ENGLISH:
Well, this is my first manicure, I did for halloween. It's simple and it's like a French manicure but changing the colors.
To make this manicure nail polishes used two, both from the KIKO store. One red and one black.
I applied first red and carefully tried to make the outline in black.Beware because if we had we may be half black and red nail.
This manicure is the fastest that I did,as my halloween party started in half an hour and I wasn't even wearing or makeup > / / < It was very stressful.
I hope you liked it =)

Kiss! ^ ^

Bienvenidos y Bienvenidas

Hola a todos!! Somos dos chicas a las que se nos ha ocurrido la idea de crear un blog con las manicuras que nos hacemos durante la semana y a la vez explicaros como hacerlas ^^
También hablaremos de que productos utilizamos y de la opinión respecto a cada uno
Esperamos que disfruteis con la lectura de este blog y convirtiendo vuestras manos en algo espectacular
Un Saludo!